3 Options for Placing Tiles to Drop Zones
There are three ways to place tiles inside a drop zone
- Drag-and-drop: Drag-and-drop can be used to place a tile anywhere on a Polypad, including inside a drop zone.
- Arrow Keys: Arrow keys can be used to move a tile anywhere on a Polypad, including inside a drop zone
- Click-to-Place: Click to select a tile and then click on a drop zone to place the selected tile in that drop zone.
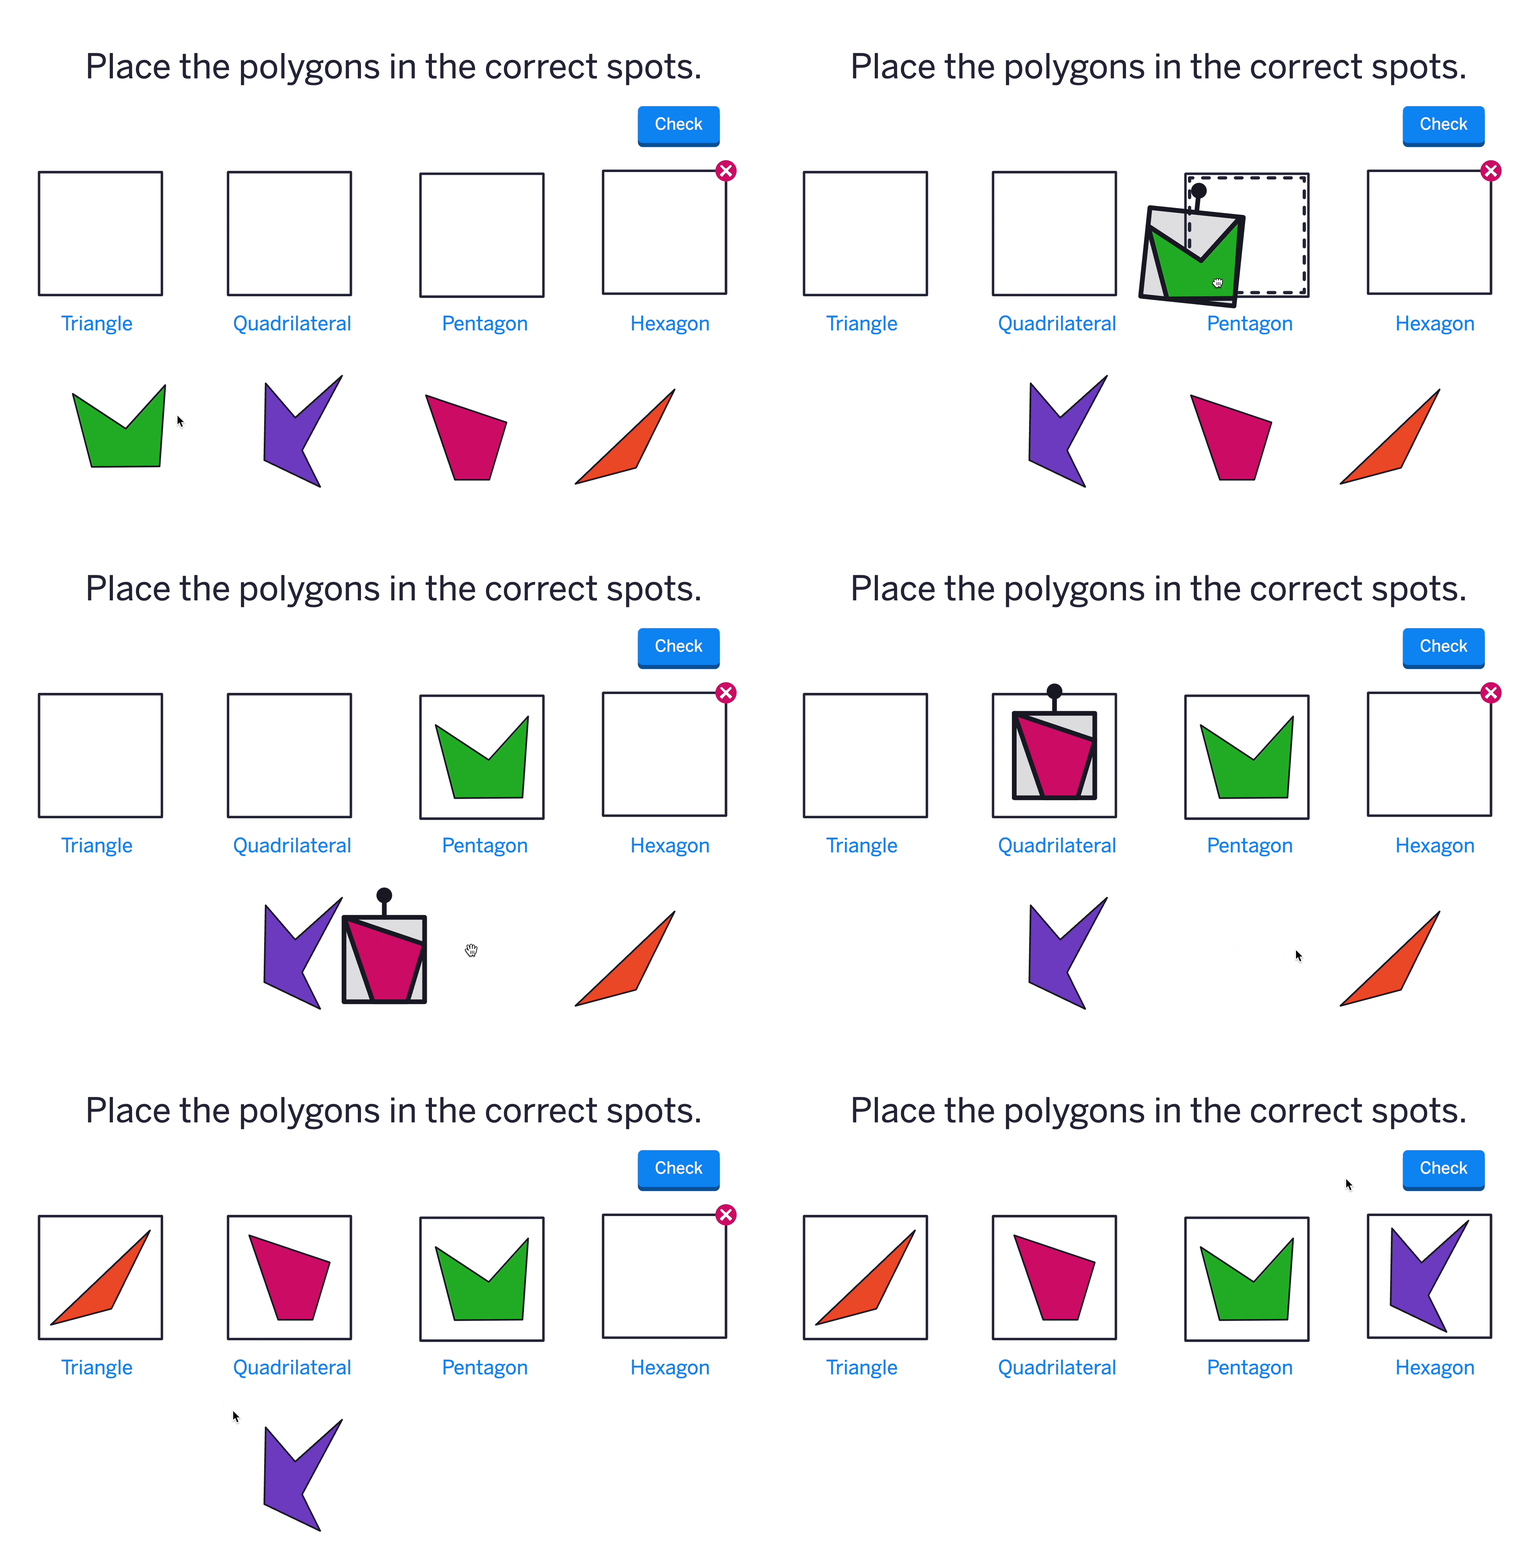
Stay in Drop Zones
Inside Authoring Mode, turn on the “Stay in Drop Zones” on an individual tile or tiles to restrict those tile(s) so they will always stay inside a drop zone.
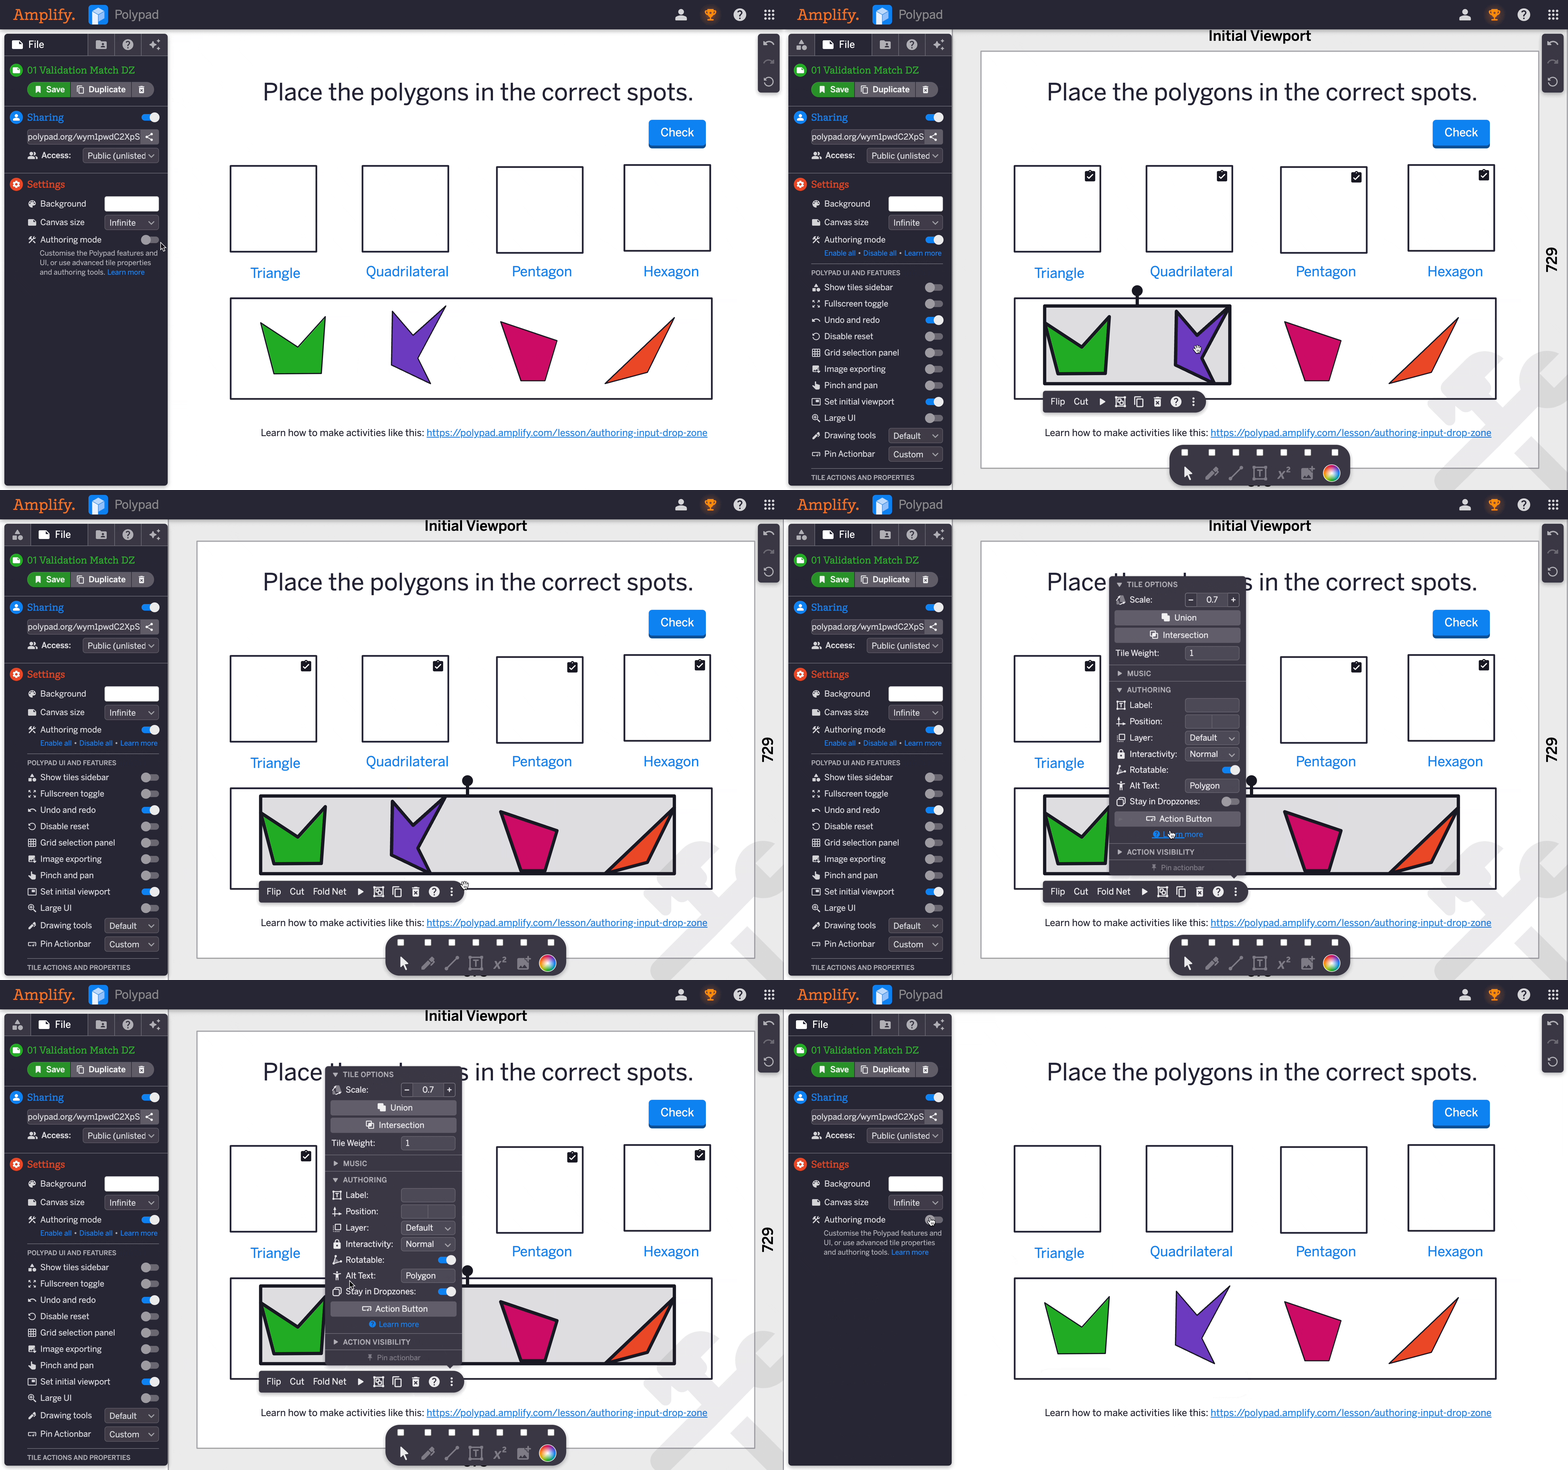
When this toggle is turned on, if a tile is dragged-and-dropped outside of a drop zone, it will return to it’s original drop zone. Additionally, if the tile is in a different drop zone with a tile limit of 1 and another tile is placed into that drop zone, the first tile in the drop zone will go back to it’s original drop zone.
The one exception to this is the use of arrow keys. When a tile is set to “Stay in Drop Zones,” the arrow key can still be used to move that tile outside of the drop zone and into another drop zone. Along the way, the tile can be placed outside of a drop zone and even left outside of the drop zone.
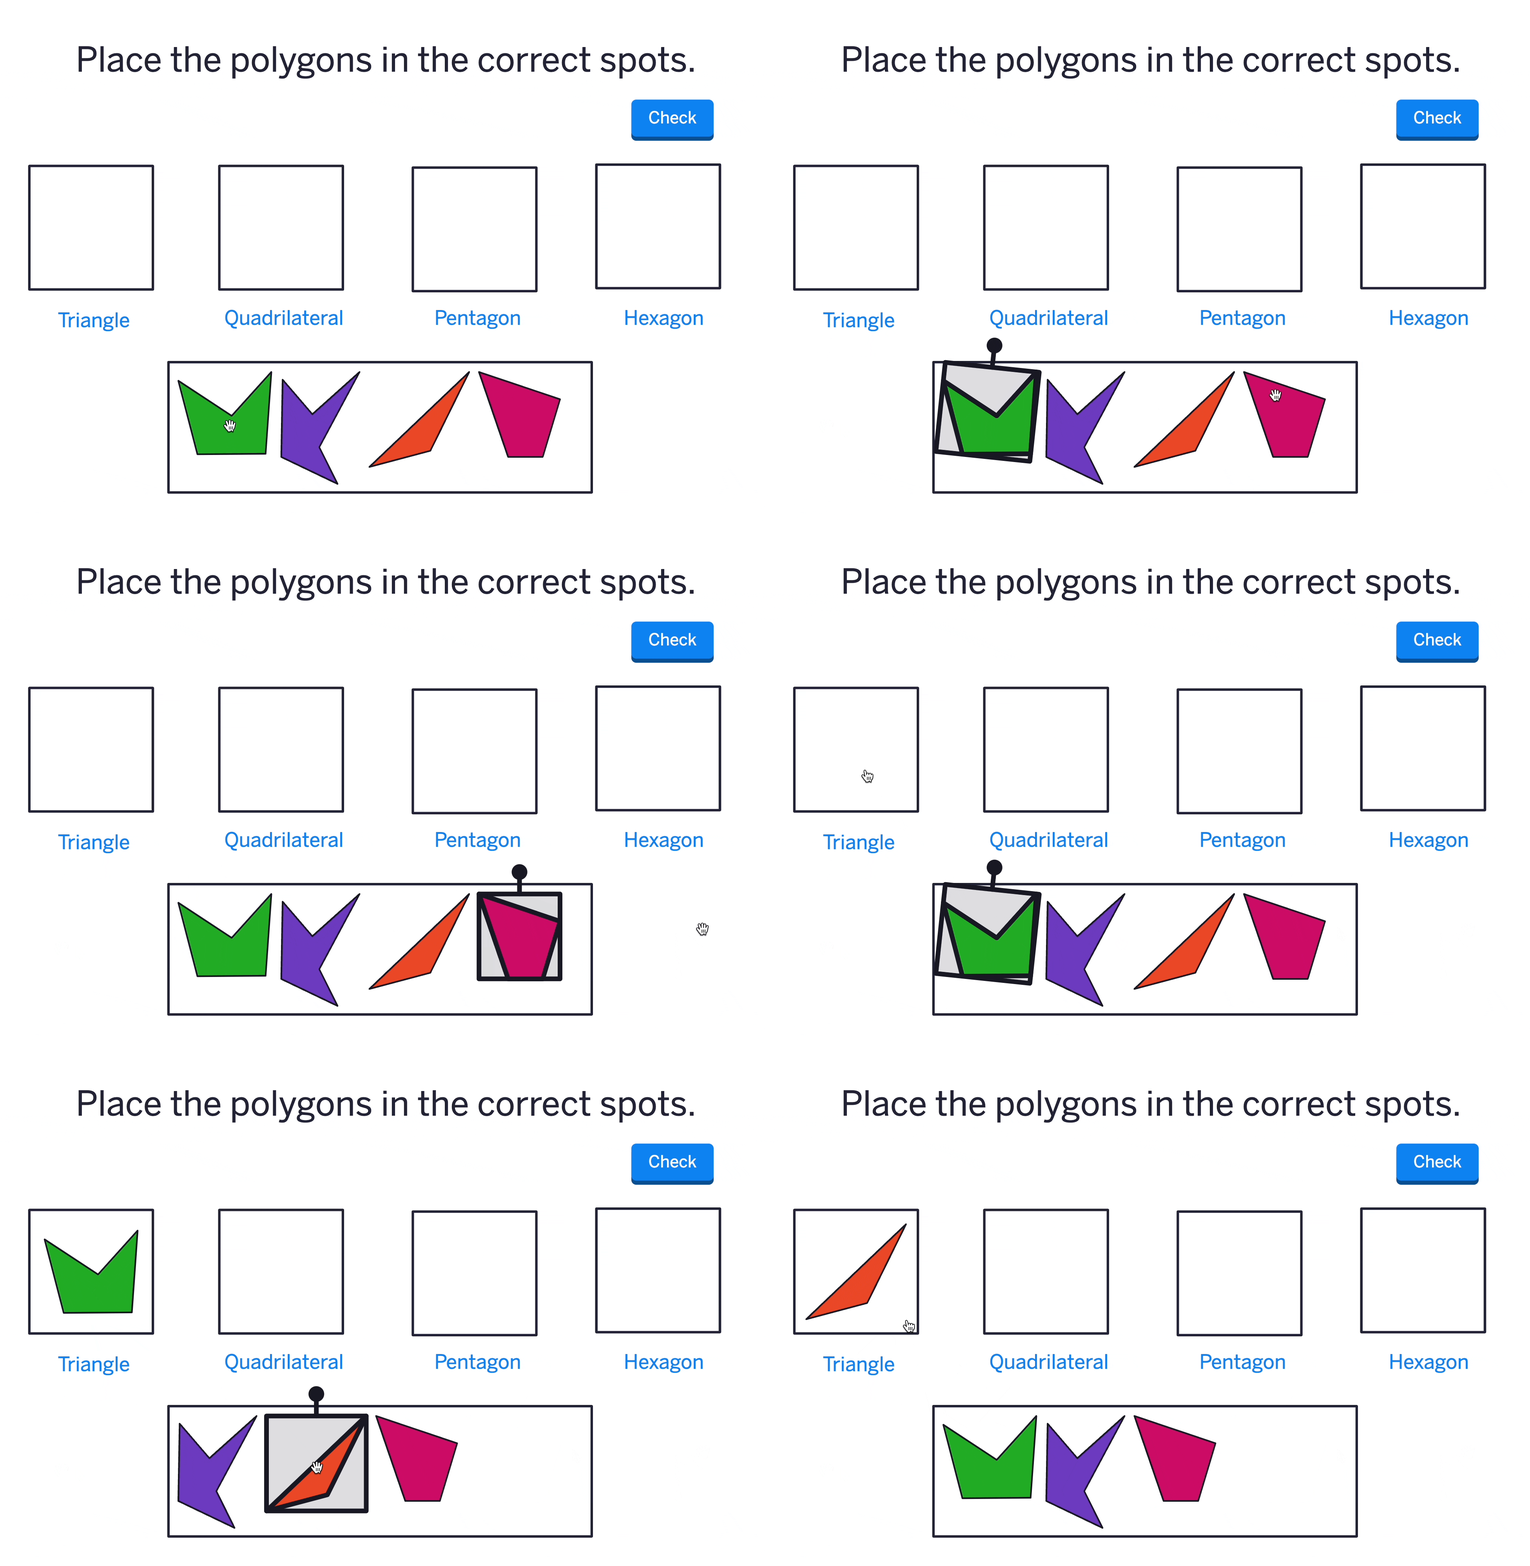
Drop Zone Tile Limits
Activity authors can set a tile limit on a drop zone. When another tile is added to a drop zone that is at it’s tile limit, the resulting action is dependent on whether the tile inside the drop zone is set to “Stay in Drop Zone” or not.
Option 1 - Tiles NOT set to “Stay in Drop Zone”
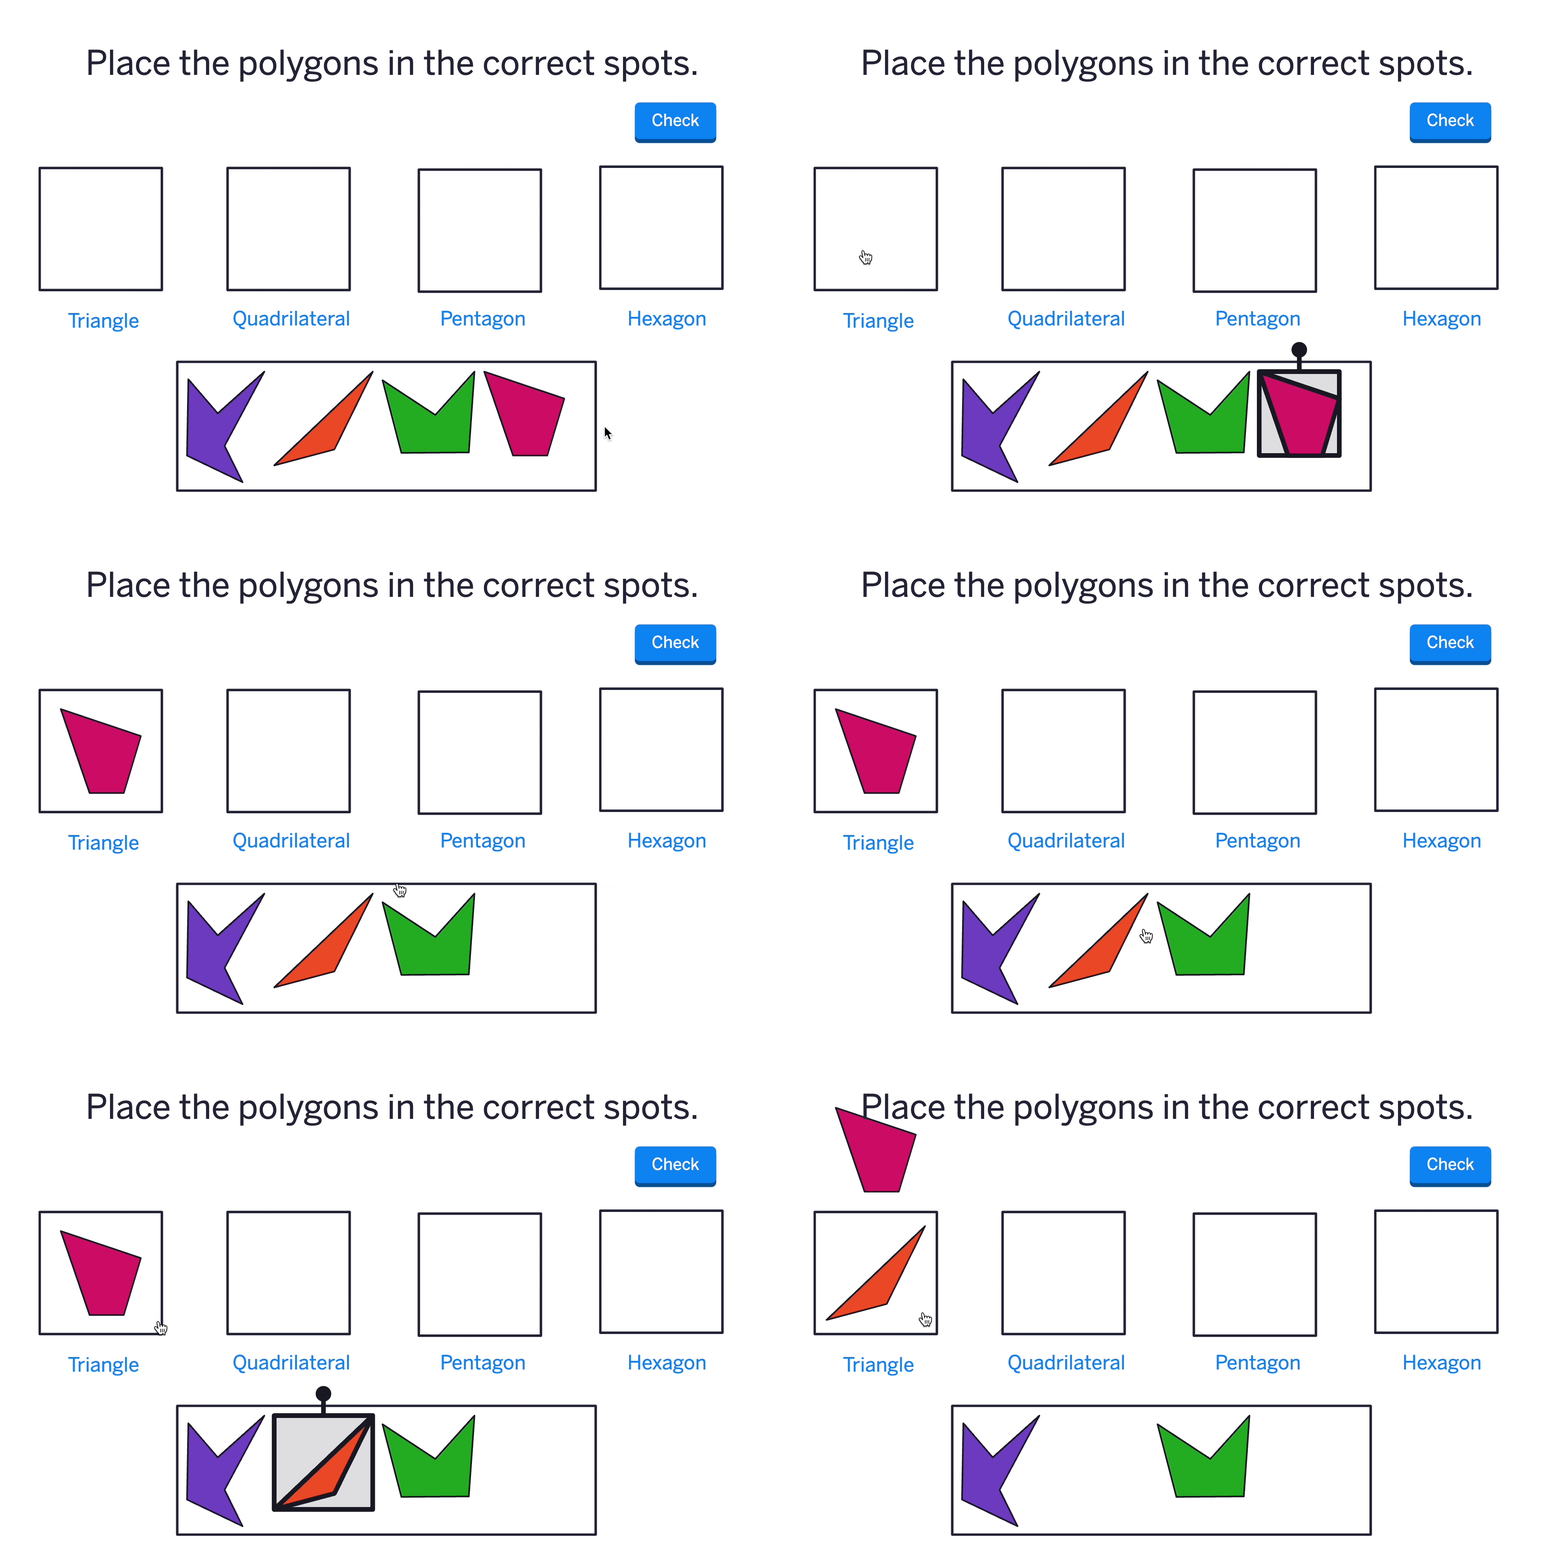
When a tile is in a drop zone with a tile limit, is not set to “Stay in Drop Zone”, and another tile is placed in that drop zone, the tile originally in the drop zone will be kicked out and placed directly above the drop zone.
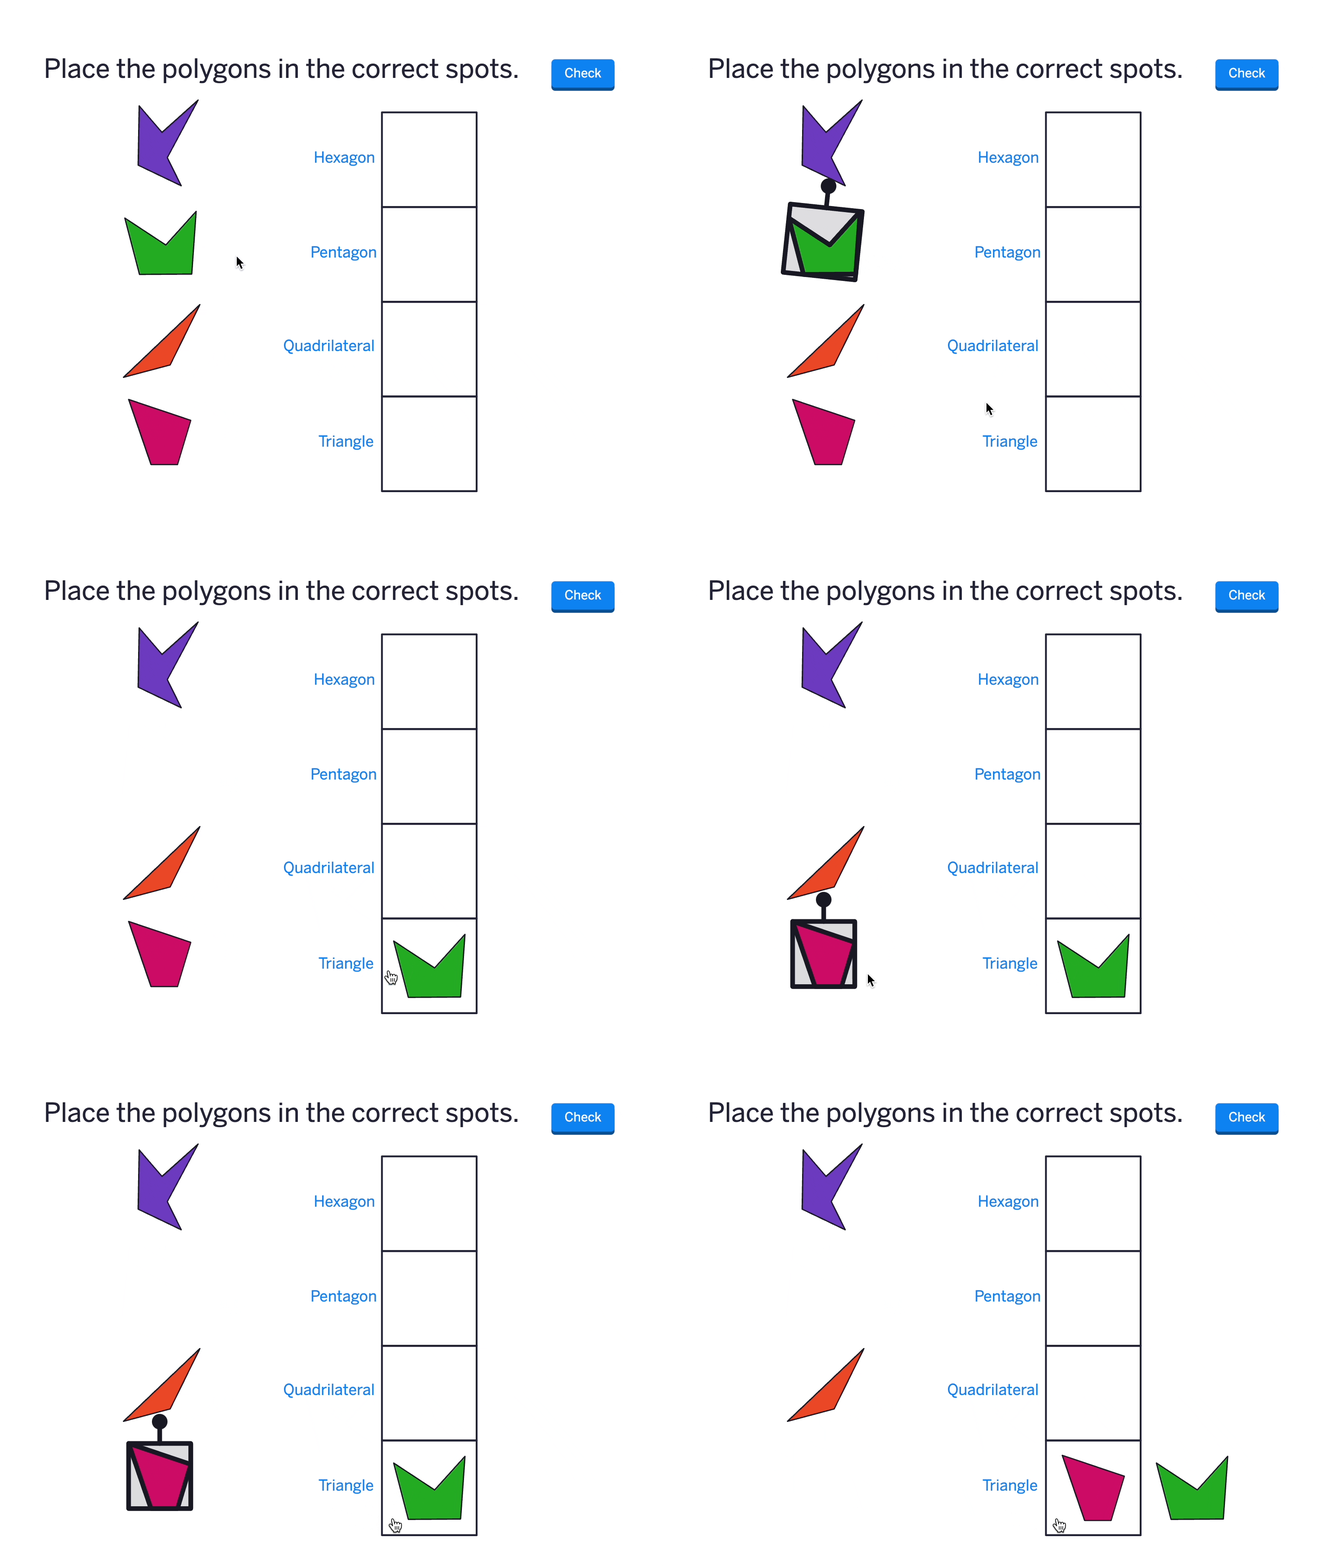
If there is another drop zone above the drop zone being used, the original tile in the drop zone will be placed to the right of the drop zone.
In general, Polypad will first look above the drop zone, then to the right of the drop zone, then below the drop zone, and finally to the left of the drop zone.
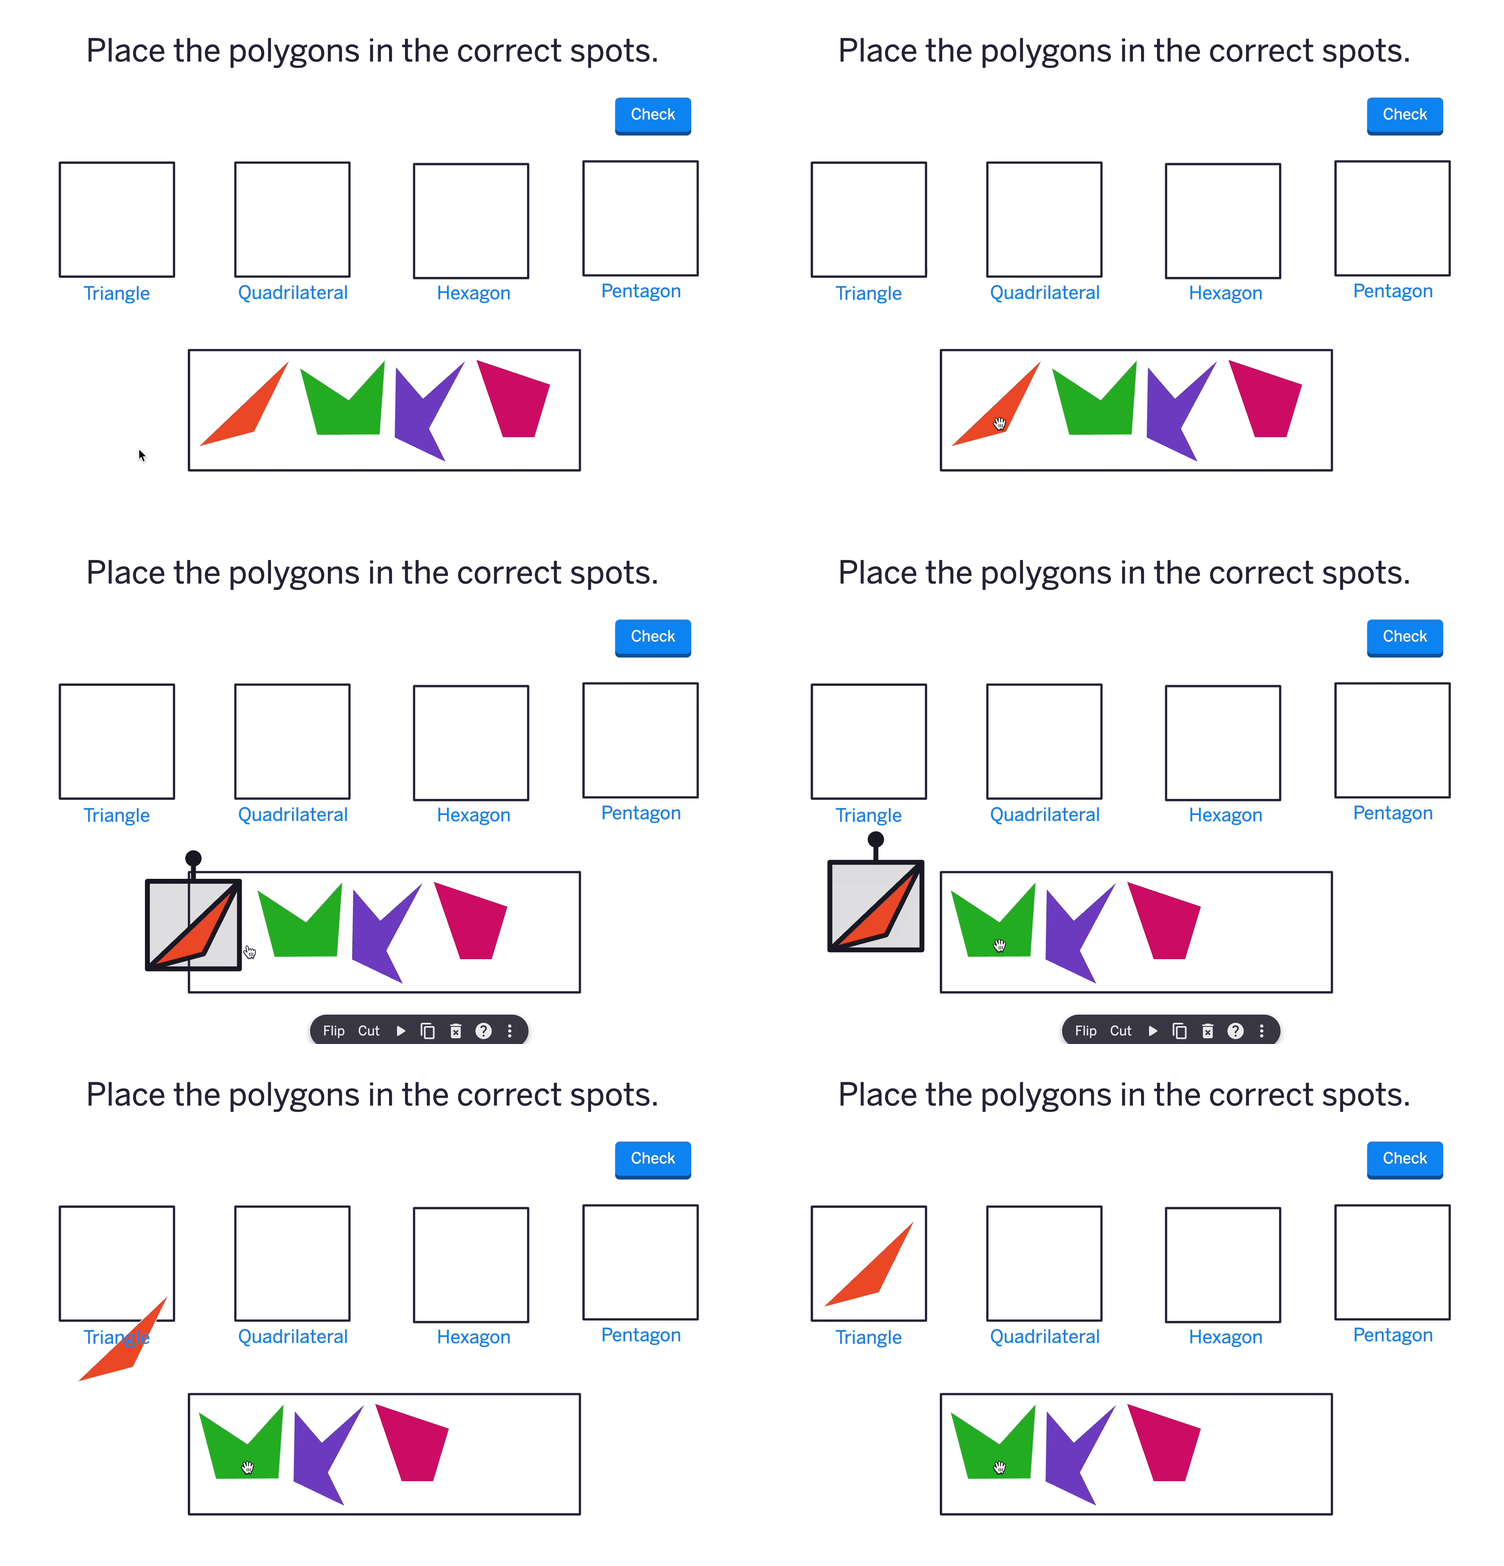
Option 2 - Tiles set to “Stay in Drop Zone”
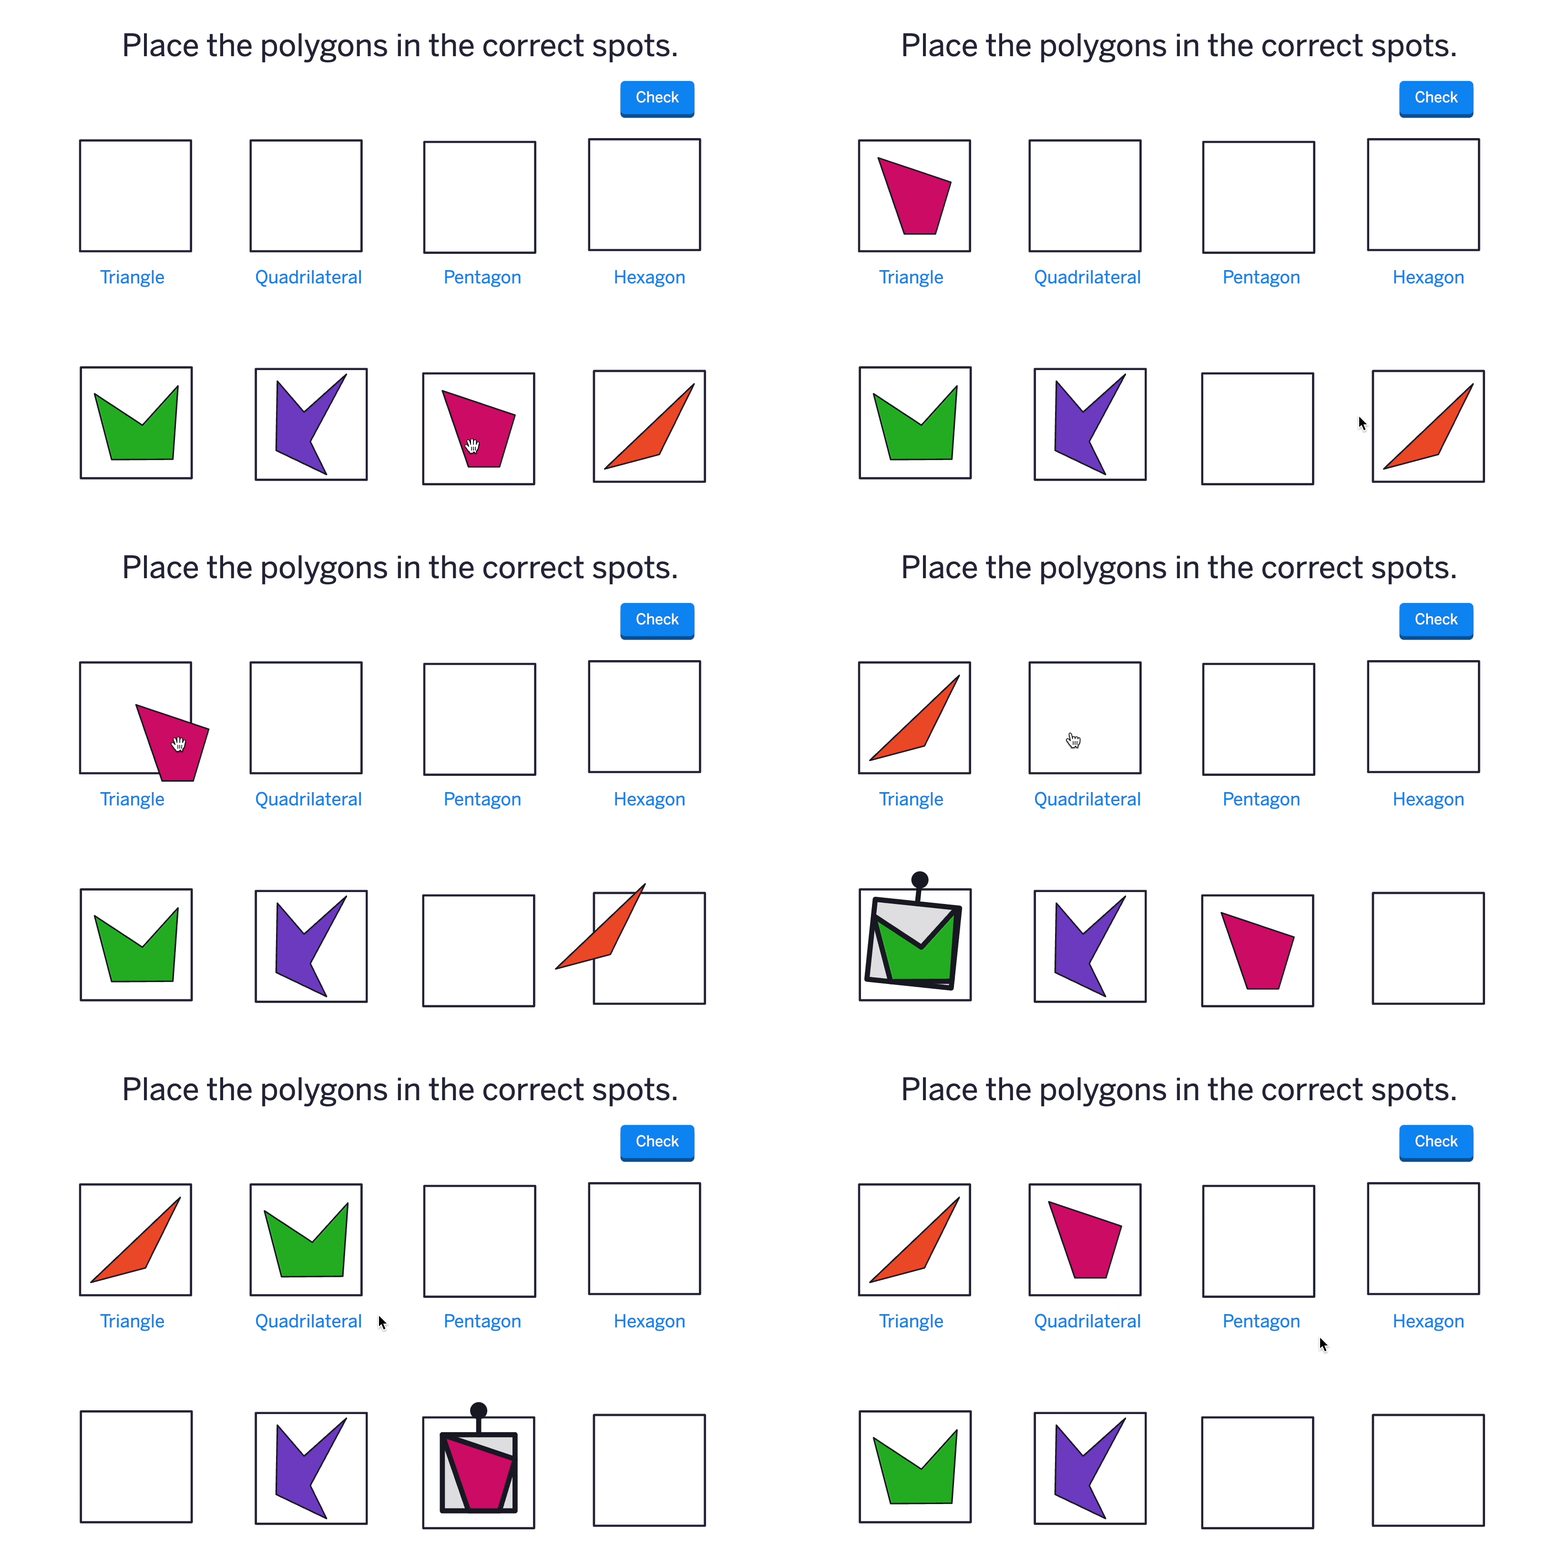
Alternatively, if tiles are set to “Stay in Drop Zone,” when a tile is removed from a drop zone by an incoming tile, the tile being removed will be sent back to the drop zone it came from.
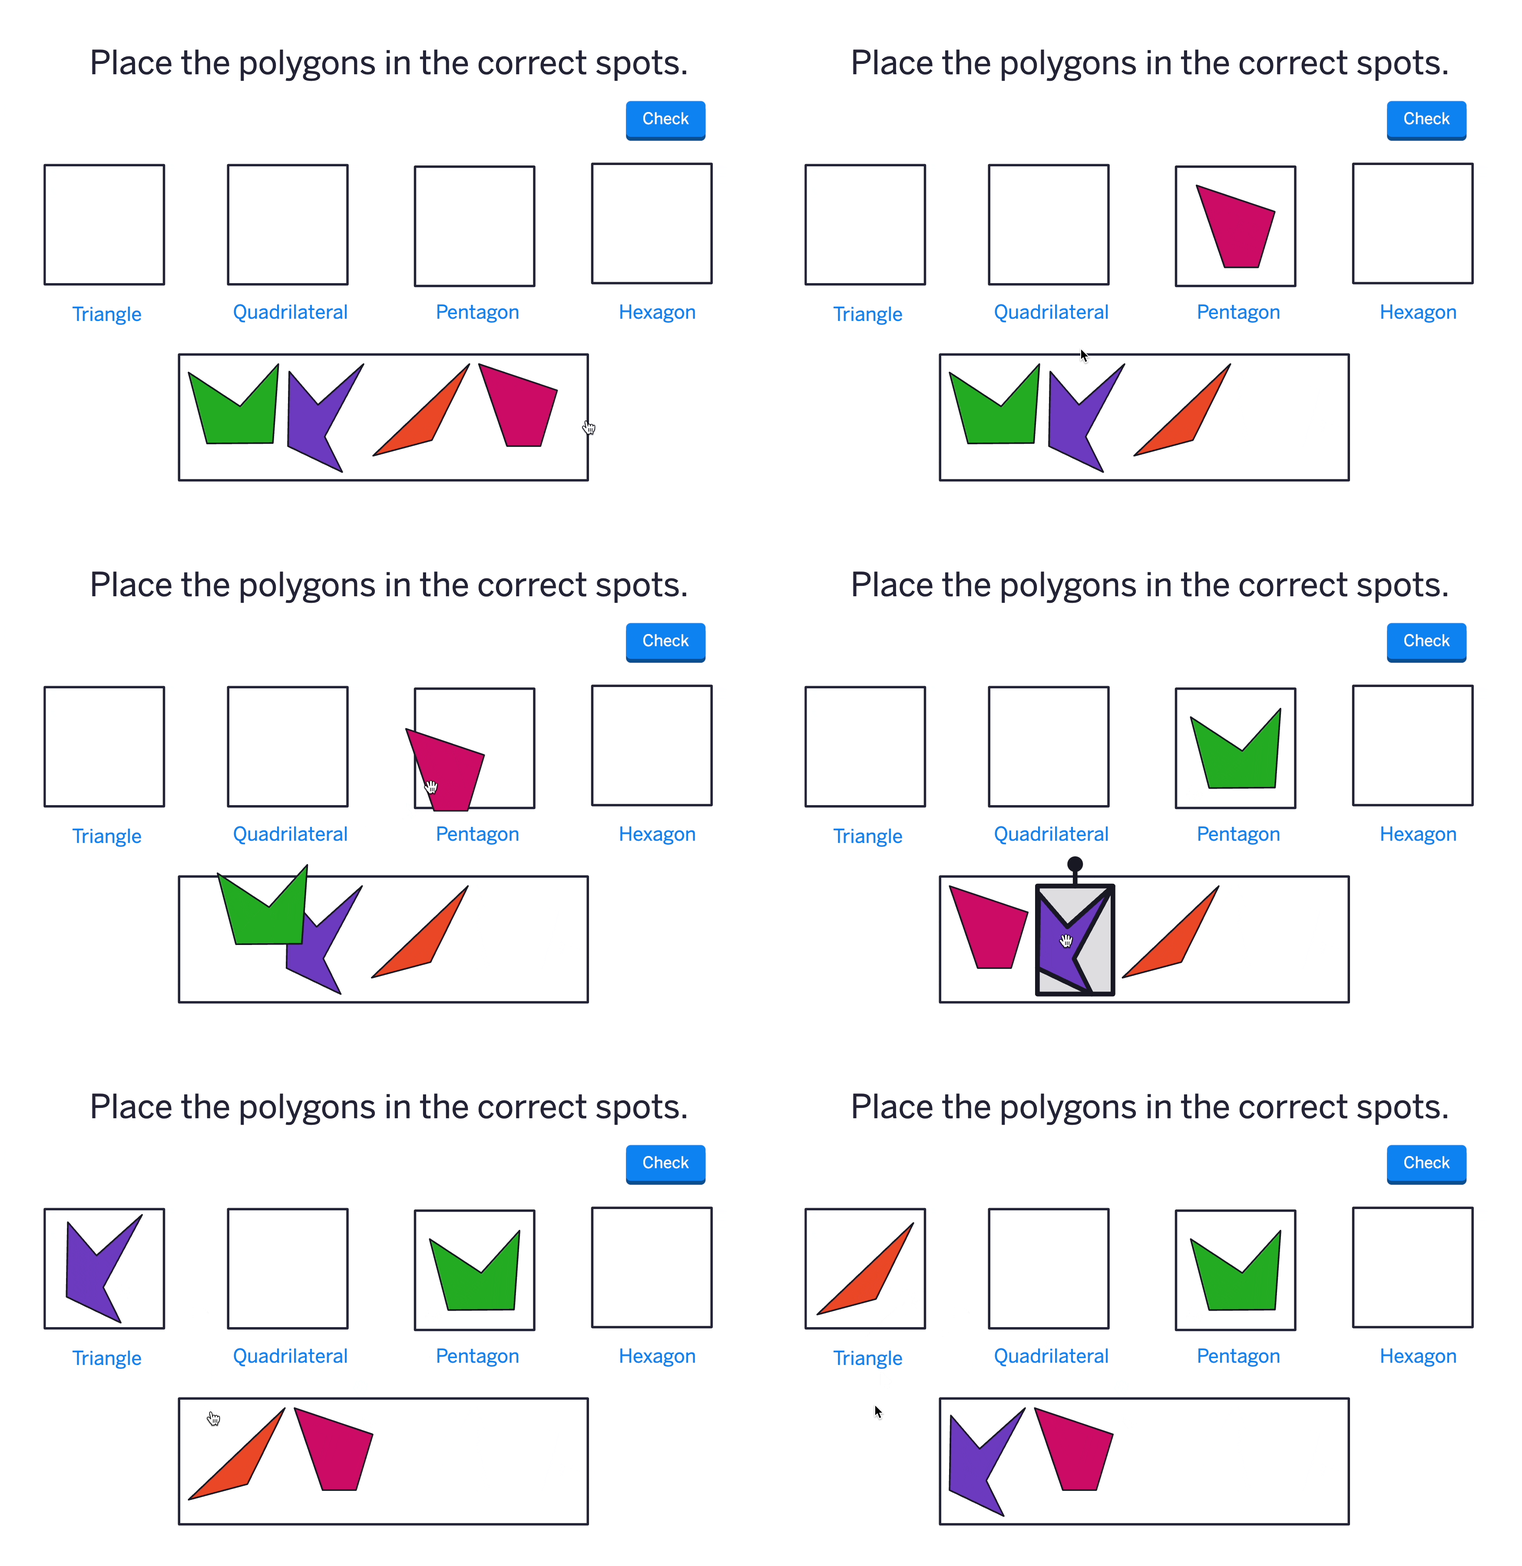
In the example above, all 4 tiles start in the same initial drop zone. Another option is to place the starting tiles in their own drop zone. This will prevent the re-ordering of the tiles at the bottom as shown above.
Clone When Moving
When tiles inside a drop zone are set to clone when moving, copies of the tile can be moved out of the drop zone using drag-and-drop, click-to-stick, and using the arrow keys. The original generator tile will stay inside the drop zone.
If the original tile is set to “Stay in Drop Zone,” and a copy of the tile is placed outside of any drop zone using drag-and-drop, the copy of the tile disappear from the canvas.
Other Authoring Tutorial Pages
Edit advanced properties for tiles
Set global settings for the entire Polypad
Select which tiles appear in the sidebar and what tools appear in the bottom toolbar
Turn on and off options in the action bar of tiles
Add custom buttons to the canvas to control tile actions
Using the input field and drop zone tile
Using drag-and-drop and click-to-place to send tiles to drop zones