Overview and Objective
In this lesson, students will construct three-dimensional figures using unit cubes on the isometric grid to generate the isometric views of the figures.
Warm-Up
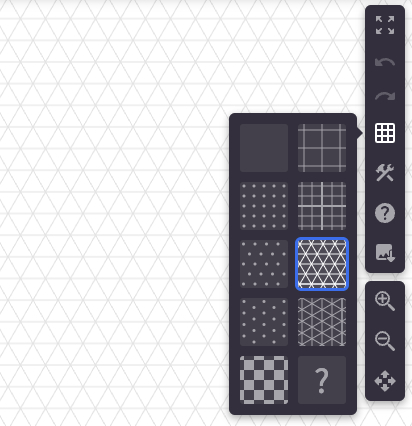
It is not easy to draw 3D objects on paper. To do this, we create a view of the object on the paper (the 2D plane) This is called a projection. Using an isometric grid can help us to create the illusion of depth on the paper. Change the grid on Polypad using the toolbar on the right of side of the canvas.
Isometric drawings (isometric projections) are often used by designers, engineers, and illustrators who specialize in technical drawings. Start by inserting a cube on the isometric canvas and rotating it to show students' different side views. Use the ruler-pen option to draw the outline of the cube. You may ask students to draw different sizes of cubes using the ruler-pen tool. After the drawings, students can use the rhombus or the custom polygon tools to fill the faces of the cube. They might want to use different colors to emphasize the top and side views of the cube.
Main Activity
Clarify with the students that, during this activity, the blue rhombus from the polygons toolbar will be used to create the unit cubes.
Invite them to draw an L-shaped 3D figure using the unit cubes on the isometric grid.
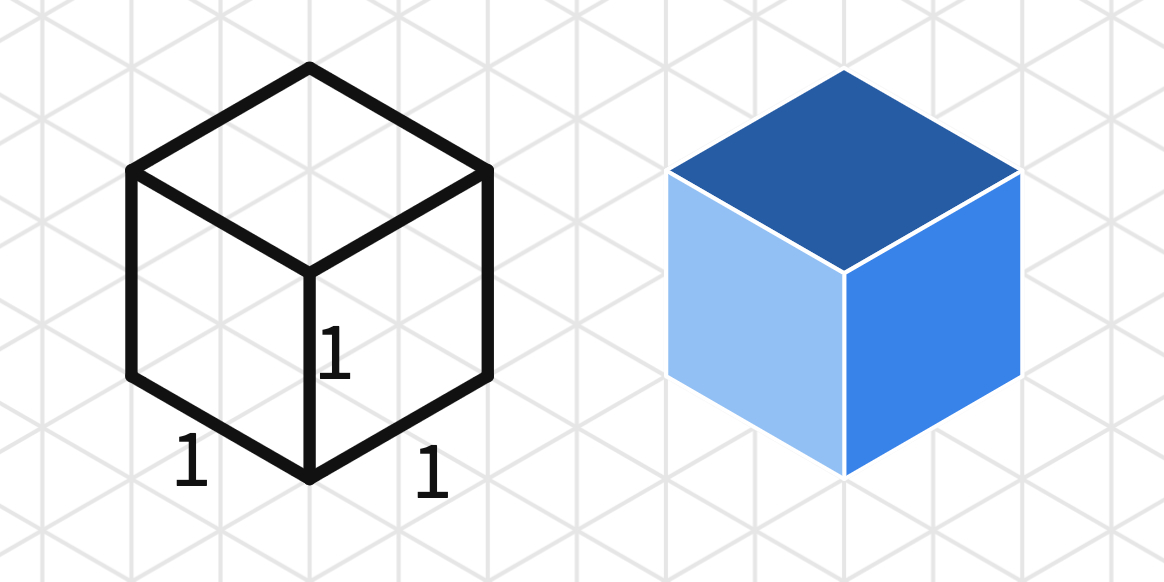
Students may either clone the unit cubes as needed or just clone the faces of the cube.
You may show them that sometimes the cubes' faces coincide and when they have selected the entire figure, it can be seen differently. To avoid this, they can construct their figure using individual faces.
Discuss with students how many unit cubes are used to construct the L shape. How many are in the first row and how many in the second?
Use this Polypad to demonstrate another example. When a diagram showing the number of cubes in each grid is given, the respective 3D object can be constructed using these numbers.
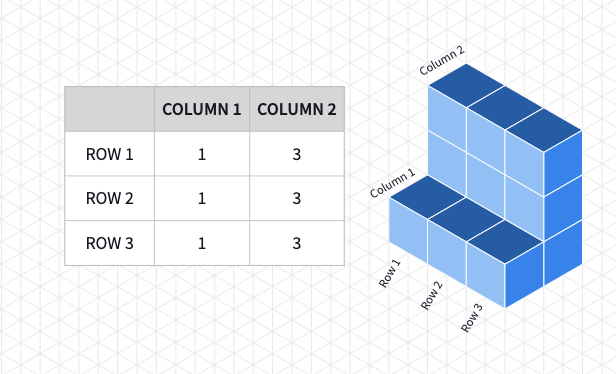
To let students explore the orientation of the cubes on their own, a simpler number diagram will be used throughout the activity. You may want to clarify the number of cubes ın each row and the column using the example before sharing the Polypad with the students.
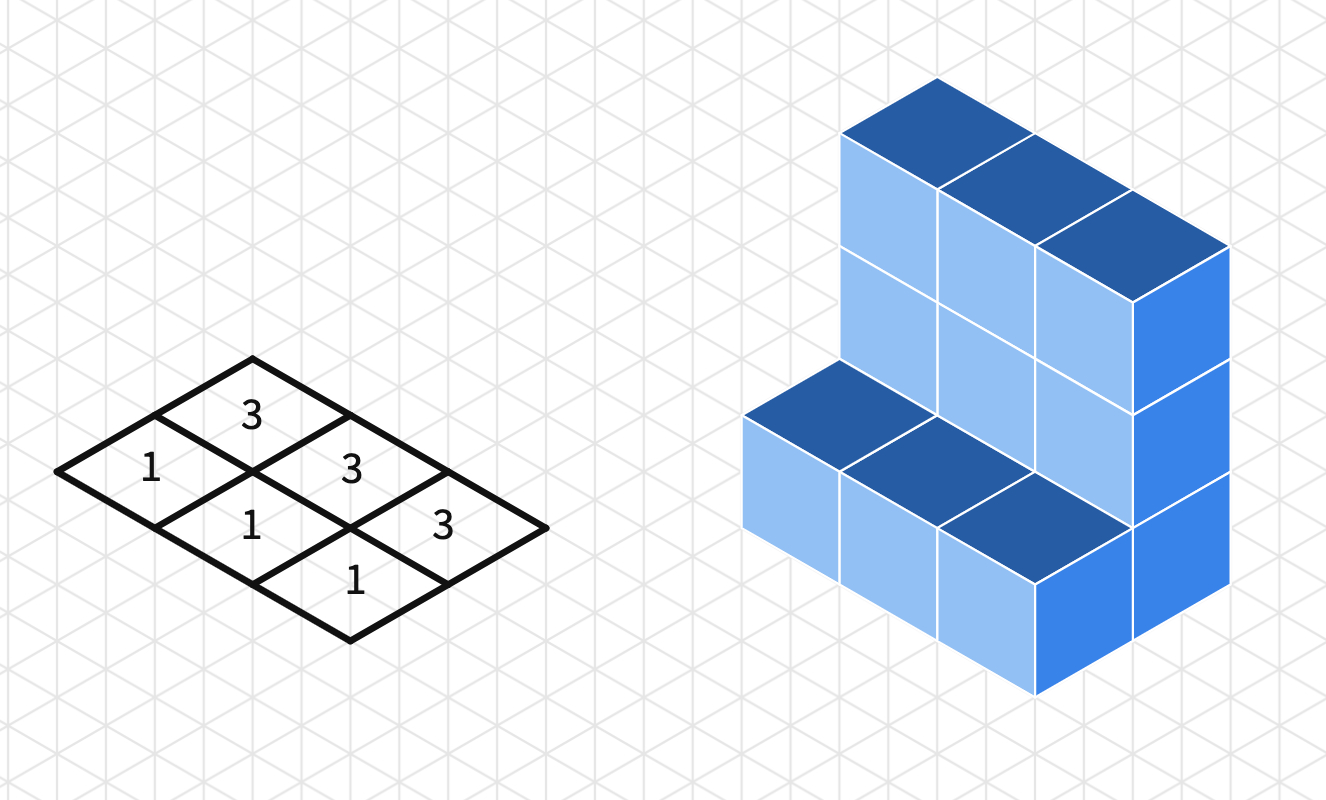
Share the same Polypad with students and invite them to work on creating 3D objects on the isometric grid. Discuss how the diagrams showing the number of cubes in each grid help students construct the object.
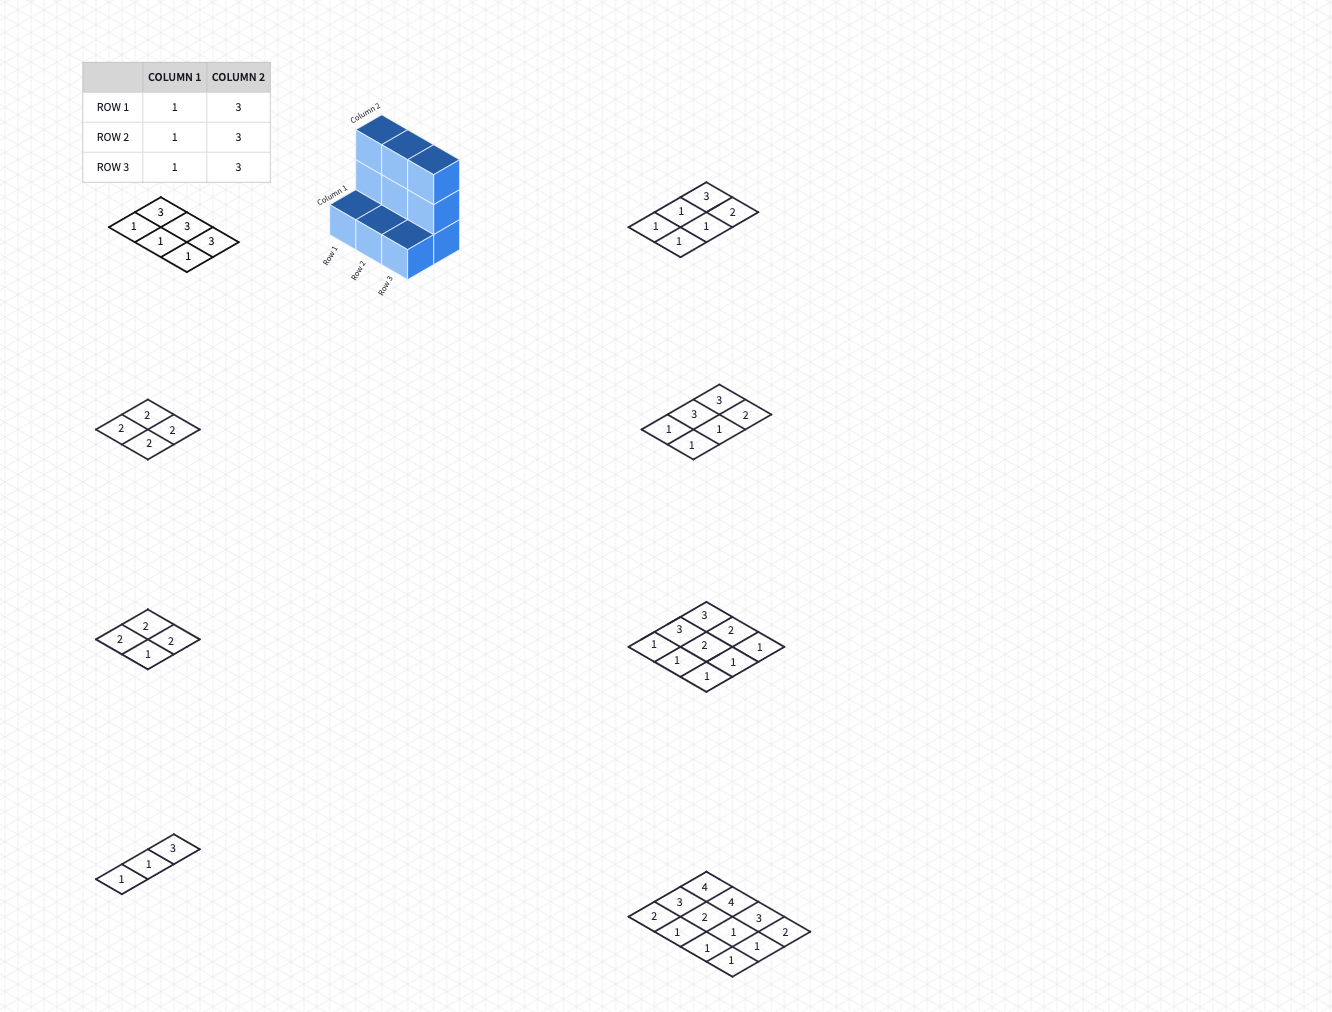
Share some student work with the class. Invite students to share which approaches they found most useful when drawing the 3D figures. You may also let students work in pairs and create number diagrams for each other to construct additional 3D figures.
Closure
You may end the lesson with an isometric puzzle. Show the drawing to students and ask how many cubes they see, then ask the same question after rotating the whole figure upside down.
Isometric drawings can be tricky to the eye, that’s why illustrators usually also add side views to their drawings to make sure that their target audience fully understands the drawings. Isometric Drawings: Part 2 focuses on the side views and orthographic projections.
Support and Extension
For students ready for additional extension in this lesson, consider asking them to create the 3D L shape figure drawing and folding the possible net of the L prism.
Ask students who need additional support with these ideas to construct 2 x 2 and 3 x3 cubes.
Polypads for This Lesson
To assign these to your classes in Mathigon, save a copy to your Mathigon account.
Click here to learn how to share Polypads with students and how to view their work.